In the new Portals hub, each account is identified by a unique e-mail address, meaning this tip is useful for companies that have several existing accounts linked to one e-mail address in the old Portal (Single Sign-On).
Understanding the "+ Trick" for Email Addresses (Gmail and Outlook):
Before we dig into the registration process, it is important to understand the "+ trick" associated with email addresses. Many email service providers allow users to extend their email address by adding a plus ("+") sign followed by any combination of words or numbers after the initial part of the email address.
For example:
If your primary email is jane.doe@example.com, you can use jane.doe+country_1@example.com for registering on the Tradeplace Portals hub. This feature is especially useful for users who wish to manage multiple accounts or filter incoming emails more effectively.
STEP 1
Enter the Tradeplace site and click on Register.

STEP 2
Choose your country and select the service.

STEP 3
Enter your company information.

STEP 4
Enter your personal data as a company user. Insert here your new e-mail combination, to generate a different user.
For example:
If your primary email is jane.doe@example.com, you need to input the new user account as jane.doe+country_1@example.com

MERGING ACCOUNTS
If your company already has an account, the registration process will recognize similarities and merge the new user to the existing company if you choose so.

STEP 5
After this step you will see the available Manufacturer selection, select the desired brands and add your customer code.
Please note that Tradeplace does not manage these codes, please refer to your sales representative at the desired brand if you don't know this information.

STEP 6
The final step will summarize all your information, you can go back to every step and correct anything before continuing with the account confirmation.

STEP 7
After the summary, you will see the confirmation of the account creation and will receive an e-mail requiring you to verify the account.


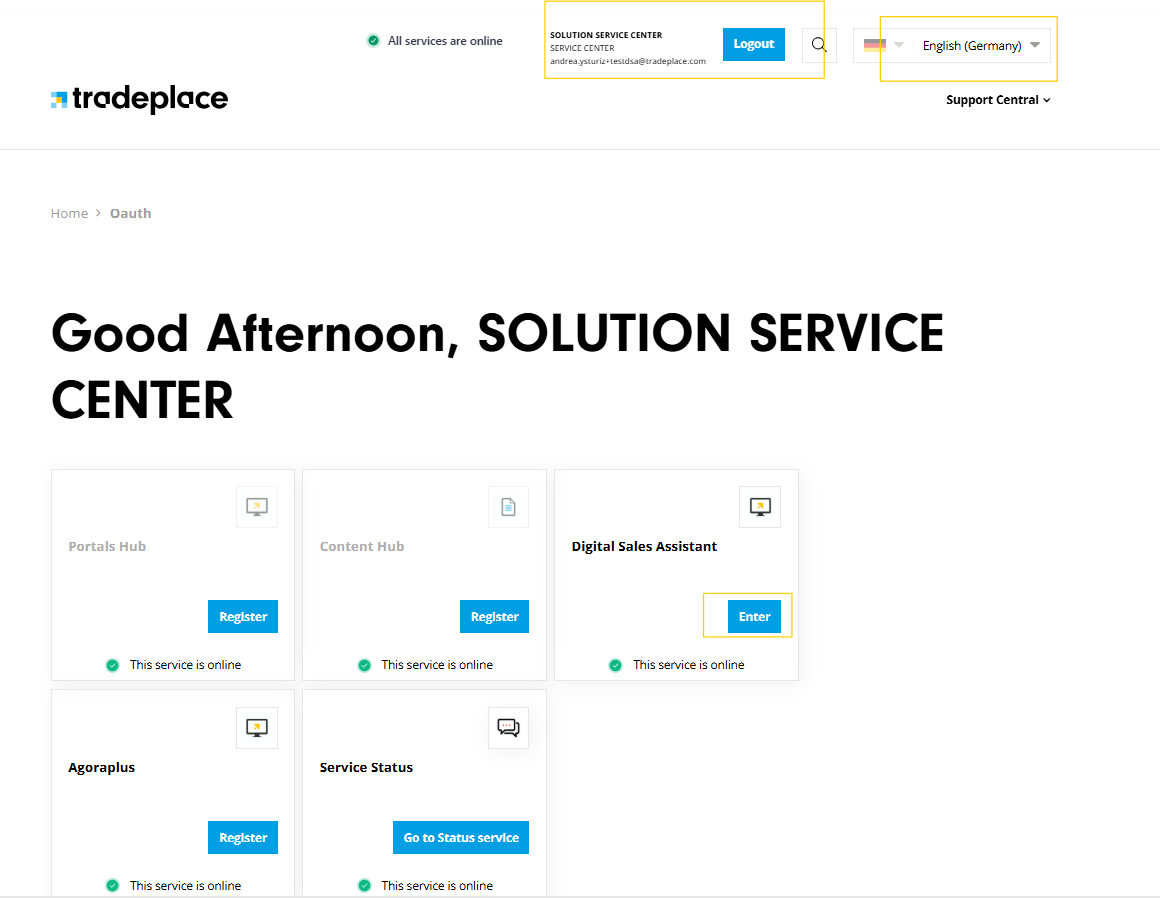
STEP 8
Once your account is active, you will be able to log in and see the available services, your account configuration, the language preferences, access to our help center and a button to change the page view.